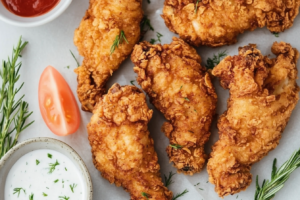
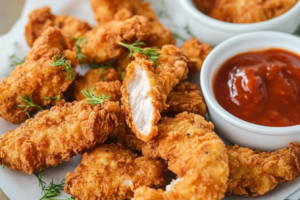
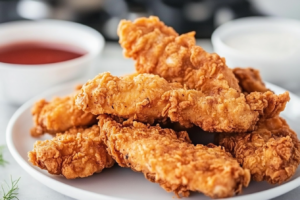
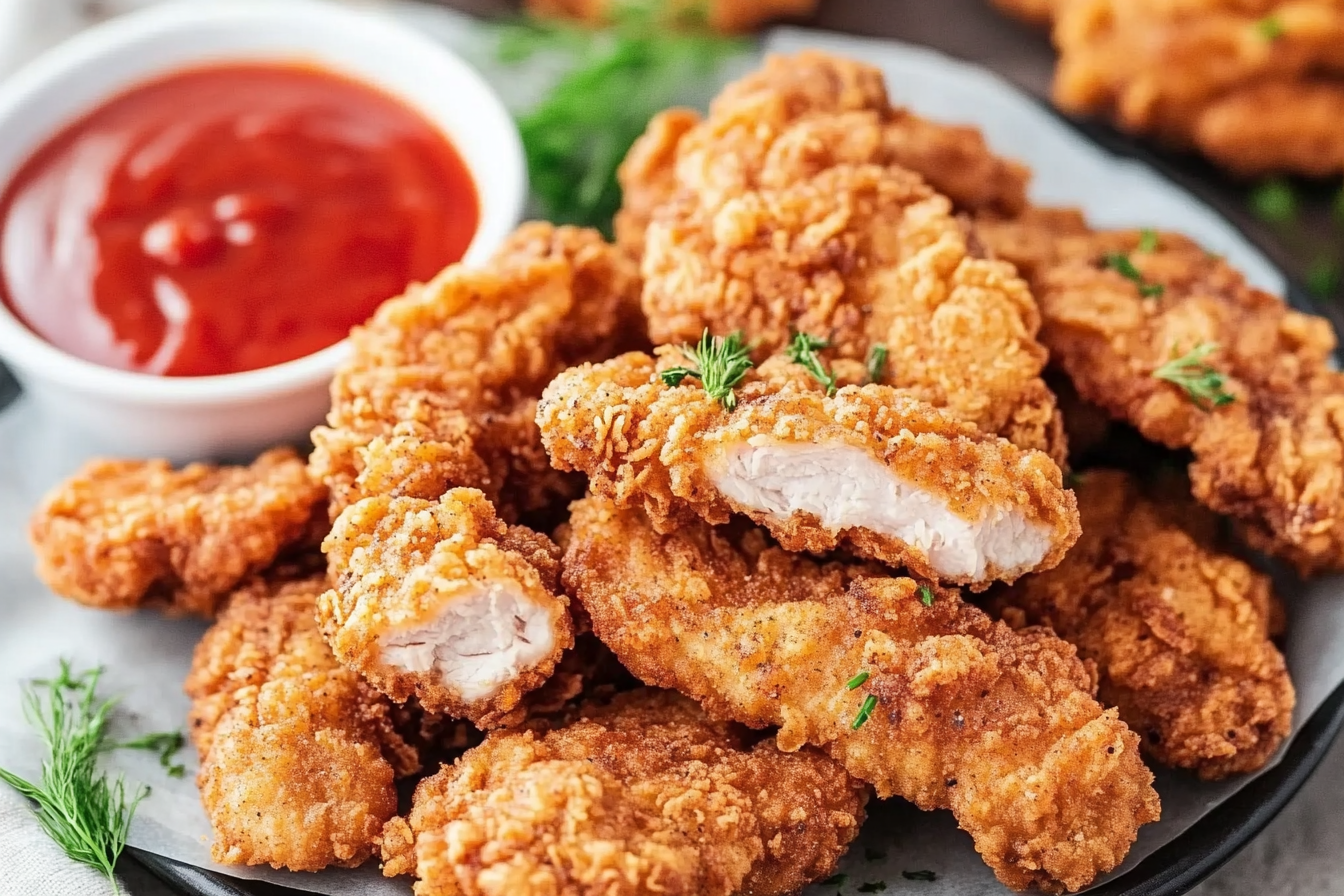
Few dishes can compare to the universal appeal of fried chicken tenders. They boast a crispy, golden-brown coating paired with juicy, tender chicken inside. This contrast between texture and flavor is what makes them an enduring favorite, both at home and in restaurants. Whether you’re preparing a meal for your family or hosting a party, knowing how to make the best fried chicken tenders recipe is a game-changer.
In this detailed guide, we’ll break down every step of the process. We’ll start by explaining how to select the right chicken, then dive into marination and coating techniques, followed by the frying process. Additionally, we’ll explore alternative cooking methods, like baking and air frying, for those seeking healthier options. By the end of this guide, you’ll have all the tools you need to create restaurant-quality chicken tenders right in your own kitchen.
For more recipe ideas, try Chicken Cutlets Recipe or add some sweetness with this Pumpkin Banana Loaf Recipe.
Why Everyone Loves Fried Chicken Tenders
When we think of comfort food, fried chicken tenders almost always come to mind. Not only are they a go-to dish for many families, but they are also beloved by people of all ages. From children to adults, their simplicity and delicious flavor make them an easy favorite. Furthermore, they can be paired with a variety of sauces and side dishes, making them incredibly versatile.
But why do we love them so much? The answer lies in their balance between crunchy and juicy. The crispiness of the coating provides a satisfying bite, while the juicy, tender chicken keeps the dish from being too dry. The contrast between these two elements is key, and achieving this balance is easier than you might think, especially with the right fried chicken tenders recipe.
Ingredients for the Perfect Fried Chicken Tenders Recipe
To make the best fried chicken tenders recipe, you’ll need a few essential ingredients. These ingredients are likely things you already have in your kitchen, making this dish both accessible and affordable.
For the Chicken:
- 1 lb of boneless, skinless chicken tenders
- 1 cup of buttermilk (or plain yogurt as an alternative)
- 2 cups of all-purpose flour
- 1 teaspoon of garlic powder
- 1 teaspoon of onion powder
- 1 teaspoon of paprika
- 1/2 teaspoon of cayenne pepper (optional for heat)
- Salt and pepper to taste
- Vegetable or canola oil for frying
For Additional Seasoning:
- 1 teaspoon of dried oregano (optional)
- 1/2 teaspoon of black pepper
- Fresh parsley or dill for garnish
Suggested Dipping Sauces:
- Ranch dressing
- Honey mustard
- Barbecue sauce
- Spicy mayo
These ingredients work together to create a flavor-packed dish. The seasonings enhance the flavor of the chicken, while the buttermilk marinade keeps the meat tender and juicy. Now, let’s take a closer look at how to prepare the chicken properly before frying.

Choosing the Right Chicken
When it comes to making the ultimate fried chicken tenders recipe, selecting the right chicken is crucial. Fresh, high-quality chicken will always yield the best results. While pre-cut chicken tenders are convenient, you may also opt for boneless, skinless chicken breasts, which you can cut into strips. This allows you to control the size and thickness of each piece, ensuring they cook evenly.
Always choose fresh chicken over frozen when possible. Fresh chicken tends to be more tender, and it absorbs marinades better. If you must use frozen chicken, make sure it is fully thawed before marinating. Additionally, when purchasing chicken, look for labels that indicate the chicken is hormone-free and antibiotic-free for the best quality.
For advice on keeping your chicken juicy, check out Chicken Brine Recipe, which works wonders on poultry.
Marinating Chicken Tenders for Maximum Flavor
Marinating the chicken is an essential step in this fried chicken tenders recipe. The marinade infuses the chicken with flavor while also tenderizing it, ensuring that the meat stays moist and juicy during frying. Buttermilk is the best choice for marinating chicken tenders because its slight acidity breaks down the proteins in the meat, making it more tender. To dive deeper into the science behind buttermilk marinades, visit Mastering the Art of Buttermilk Marinades.
Buttermilk Marinade:
- 1 cup of buttermilk
- 1 teaspoon of salt
- 1 teaspoon of garlic powder
- 1 teaspoon of smoked paprika
Steps:
- In a large mixing bowl, whisk together the buttermilk, salt, garlic powder, and smoked paprika.
- Add the chicken tenders, making sure they are fully submerged in the marinade.
- Cover the bowl with plastic wrap and refrigerate for at least 1 hour. Ideally, let the chicken marinate overnight for maximum flavor.
- Once marinated, remove the chicken from the buttermilk and let any excess drip off before dredging.
This marination process ensures the chicken is flavorful and tender, making a significant difference in the final result.
Creating the Crispiest Coating
The secret to a crispy exterior lies in the coating. While the marinade provides flavor and tenderness, the coating is what gives the chicken tenders their signature crunch. For the crispiest texture, you’ll want to use a mixture of flour and cornstarch. Cornstarch helps create an extra-light, crispy texture that doesn’t absorb too much oil.
Coating Ingredients:
- 2 cups of all-purpose flour
- 1/2 cup of cornstarch
- 1 teaspoon of garlic powder
- 1 teaspoon of onion powder
- 1 teaspoon of smoked paprika
- 1/2 teaspoon of cayenne pepper (optional for heat)
- Salt and pepper to taste
Steps:
- In a shallow dish, combine the flour, cornstarch, and all seasonings.
- Dredge each marinated chicken tender in the flour mixture, ensuring each piece is fully coated.
- For an extra-crispy texture, dip the tender back into the buttermilk marinade and dredge it in the flour mixture again. This double-coating method will give you an incredibly crispy result.
- Set the coated tenders aside on a wire rack and let them rest while you heat the oil for frying.
This method of coating ensures that the chicken tenders come out light, crispy, and flavorful without becoming overly greasy. The cornstarch helps the coating stay crisp for longer, even after frying.
For more on creating that perfect crunch, check out Why Carrots Turn Green in Muffins.
Frying Chicken Tenders: Timing and Temperature Matter
Frying the chicken tenders at the correct temperature is critical to achieving the perfect balance between a crispy coating and a juicy interior. If the oil is too hot, the coating will burn before the chicken is cooked through. Conversely, if the oil is too cold, the tenders will absorb excess oil, making them greasy. To ensure success, you’ll want to maintain the oil temperature at around 350°F (175°C). For more detailed insights on achieving perfectly fried chicken, check out this guide on How to Fry Chicken Perfectly Every Time.
Steps for Frying:
- Heat vegetable or canola oil in a deep skillet or Dutch oven over medium-high heat until it reaches 350°F (175°C). Use a thermometer for precise control over the oil temperature. If you’re wondering which oils work best for frying, explore Essential Frying Oils for Cooking to learn about the health benefits and smoke points of different oils.
- Fry the chicken tenders in small batches to avoid overcrowding the pan. Overcrowding can cause the oil temperature to drop, which results in uneven cooking.
- Cook each tender for about 3-4 minutes per side, or until golden brown and crispy. The internal temperature of the chicken should reach 165°F (74°C).
- Once cooked, remove the tenders from the oil and place them on a wire rack to drain any excess oil.
By frying the tenders in batches and ensuring the oil stays at the correct temperature, you’ll achieve a golden, crispy exterior without compromising the juiciness of the chicken inside.
Baking and Air Frying: Healthier Alternatives
While frying is the traditional method for cooking fried chicken tenders, both baking and air frying offer healthier alternatives without sacrificing too much of the crispy texture. These methods use less oil but still deliver a satisfying crunch.
Baking Instructions:
- Preheat your oven to 425°F (220°C).
- Place a wire rack on a baking sheet and lightly spray it with non-stick cooking spray.
- Arrange the coated tenders on the rack, ensuring they don’t overlap.
- Bake for 15-20 minutes, flipping halfway through until they are golden brown and crispy.
Air Frying Instructions:
- Preheat the air fryer to 400°F (200°C).
- Lightly spray the breaded tenders with cooking spray to help them crisp up.
- Place the tenders in the air fryer basket, making sure there is space between each piece.
- Cook for 12-15 minutes, flipping halfway through, until crispy and golden brown.
Baking and air frying provide healthier options for those looking to cut down on oil without compromising the crispiness and flavor that makes fried chicken tenders so irresistible.
Making Gluten-Free Fried Chicken Tenders
For those with gluten sensitivities or dietary restrictions, you can still enjoy a delicious fried chicken tenders recipe by using gluten-free flour alternatives. Both almond flour and a gluten-free all-purpose flour blend work well in this recipe.
Steps:
- Substitute the all-purpose flour with a gluten-free flour blend or almond flour for the coating mixture.
- Follow the same dredging and frying (or baking) instructions as detailed above.
- Make sure that any additional seasonings or spices are also certified gluten-free to avoid cross-contamination.
This simple swap ensures that you can enjoy crispy, delicious chicken tenders while accommodating dietary needs.

Best Dipping Sauces for Fried Chicken Tenders
To elevate your fried chicken tenders recipe even further, serve them with a variety of dipping sauces. A good sauce can transform the dish, adding depth of flavor and complementing the crispy chicken tenders.
Here are some popular options:
- Honey Mustard: The sweet and tangy combination pairs beautifully with the savory flavor of fried chicken tenders.
- Ranch Dressing: Creamy, herby, and a classic pairing for fried chicken.
- Barbecue Sauce: Smoky and slightly sweet, this is a perfect dipping option for those who enjoy a deeper flavor profile.
- Buffalo Sauce: If you like heat, buffalo sauce adds the right amount of spice to your chicken tenders.
- Garlic Aioli: A rich, garlicky option that gives your tenders a gourmet twist.
Serving a variety of dipping sauces allows your guests to personalize their experience, making the meal even more enjoyable.
Storing and Reheating Fried Chicken Tenders
If you have leftover fried chicken tenders, proper storage and reheating methods are essential to maintain their crispiness. Improper storage can cause the tenders to become soggy.
Storage Tips:
- Allow the tenders to cool completely before storing them in an airtight container.
- Refrigerate for up to 3 days or freeze them for up to 3 months.
Reheating Tips:
- Reheat the tenders in the oven at 350°F (175°C) for 10-15 minutes to restore their crispiness.
- For a quicker option, reheat them in an air fryer at 375°F (190°C) for 5-7 minutes.
- Avoid microwaving, as this will make the tenders soggy.
With these tips, your leftovers will still taste as crispy and delicious as when they were freshly made.

FAQs:
How long should I marinate chicken tenders?
Marinate the chicken tenders for at least 1 hour to enhance flavor and tenderness. If possible, marinate overnight for even better results.
What oil is best for frying chicken tenders?
Vegetable oil or canola oil is ideal for frying due to their high smoke points and neutral flavors.
Can I bake chicken tenders instead of frying?
Yes, baking is a healthier option. Bake at 425°F (220°C) for 15-20 minutes, flipping halfway through.
How do I keep fried chicken tenders crispy?
After frying, place the tenders on a wire rack to allow excess oil to drain, which will prevent them from becoming soggy.
Can I make gluten-free fried chicken tenders?
Absolutely! Simply use a gluten-free flour blend or almond flour in the coating mixture, and follow the same recipe steps.
What dipping sauces go best with fried chicken tenders?
Honey mustard, ranch dressing, barbecue sauce, buffalo sauce, and garlic aioli are all excellent choices.
Conclusion
Mastering the fried chicken tenders recipe is easier than you think. By following the steps outlined in this guide, you can achieve a perfectly crispy, golden-brown coating while keeping the chicken juicy and tender. Whether you choose to fry, bake, or air fry, you can be sure that your chicken tenders will be a hit at any meal.
Additionally, experimenting with different dipping sauces and side dishes allows you to customize the experience even further. Whether you’re serving these tenders at a casual family dinner or offering them as party appetizers, they are sure to be a crowd favorite.
So, next time you’re craving crispy chicken tenders, use this recipe to create a delicious, homemade version that rivals any restaurant offering!
